SwiftUI 앱을 macOS로 이식하기 — 코드 2줄의 마법 + WidgetKit + Google 로그인
SwiftUI 앱을 macOS로 이식하기 — 코드 2줄의 마법
개인 습관 트래커 HabitFlow를 만들면서, 어느 순간 “이거 Mac에서도 쓰고 싶은데?”라는 생각이 들었다. SwiftUI라서 멀티플랫폼이 쉽다고는 들었는데, 실제로 해보니 소스 코드 변경이 정말 2줄이면 충분했다.
1. macOS 타겟 추가 — project.yml 한 블록
project.yml(xcodegen)에 macOS 타겟을 추가했다:
HabitFlow-macOS:
  type: application
  platform: macOS
  deploymentTarget: "14.0"
  sources:
    - path: HabitFlow/Sources    # iOS와 동일 소스!
    - path: HabitFlow/Resources
  dependencies:
    - package: firebase-ios-sdk
      product: FirebaseAuth
    - package: firebase-ios-sdk
      product: FirebaseFirestore
iOS 타겟과 같은 소스 디렉토리를 공유한다. xcodegen generate → Xcode 프로젝트 재생성 → 빌드.
2. 코드 변경 — 딱 2줄
빌드해보니 에러가 2개 나왔다:
에러 1: .navigationBarTitleDisplayMode(.inline) — iOS 전용 API
// Before
.navigationBarTitleDisplayMode(.inline)

// After
#if os(iOS)
.navigationBarTitleDisplayMode(.inline)
#endif
에러 2: Color(.systemGray5) — UIKit 색상
// Before
Color(.systemGray5)

// After
Color.gray.opacity(0.2)
이 2줄을 고치고 빌드하니 macOS 앱이 떴다.
3. macOS 레이아웃 개선
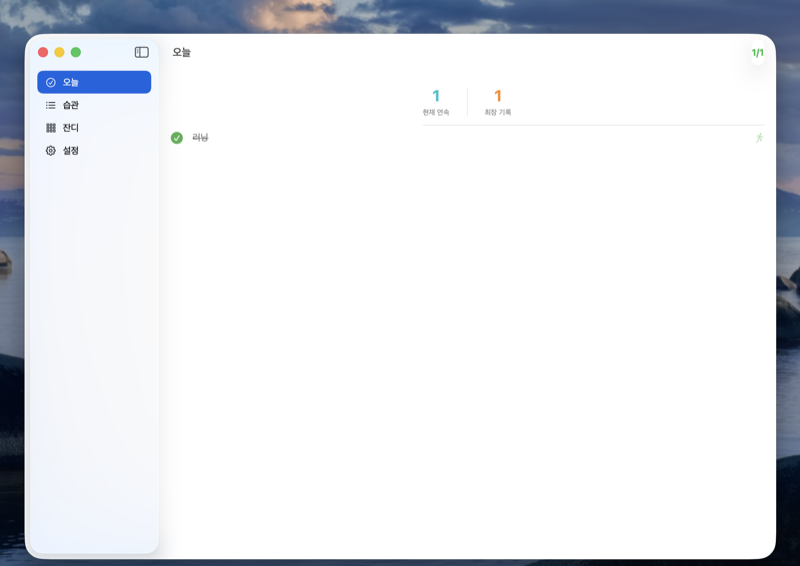
앱이 뜨긴 했지만 iOS의 TabView가 macOS에서는 어색했다. macOS답게 사이드바 네비게이션으로 변경했다.
AdaptiveNavigation 패턴
각 뷰가 iOS에서는 NavigationStack으로, macOS에서는 NavigationSplitView의 detail로 표시되어야 한다. 내부 뷰마다 NavigationStack을 감싸면 macOS에서 이중 네비게이션이 생긴다.
struct AdaptiveNavigation<Content: View>: View {
    @ViewBuilder let content: () -> Content

    var body: some View {
        #if os(macOS)
        content()  // NavigationSplitView가 이미 감싸고 있음
        #else
        NavigationStack { content() }
        #endif
    }
}
macOS 사이드바
#if os(macOS)
NavigationSplitView {
    List(selection: $selectedTab) {
        ForEach(MacTab.allCases) { tab in
            Label(tab.rawValue, systemImage: tab.icon)
                .tag(tab)  // macOS List는 .tag() 필수!
        }
    }
} detail: {
    // selectedTab에 따라 뷰 전환
}
#endif
macOS
List(selection:)주의점:selection바인딩이 반드시 Optional 타입이어야 한다. 그리고 각 row에.tag()를 명시해야 선택이 동작한다.

4. WidgetKit — App Group으로 데이터 공유
위젯 Extension은 메인 앱과 별도 프로세스이므로 Firestore에 직접 접근할 수 없다. App Group UserDefaults를 브릿지로 사용한다:
메인 앱 (습관 체크 시)
  → WidgetDataStore.save(data)          // App Group UserDefaults에 JSON 저장
  → WidgetCenter.shared.reloadAllTimelines()  // 위젯 즉시 갱신

위젯 (TimelineProvider)
  → WidgetDataStore.load()              // App Group UserDefaults에서 읽기
공유 데이터 모델은 양쪽 타겟이 같은 파일을 참조한다:
struct WidgetHabitData: Codable, Equatable, Sendable {
let totalCount: Int
let completedCount: Int
let habits: [WidgetHabitItem]
let heatmapEntries: [WidgetHeatmapDay]
let updatedAt: Date
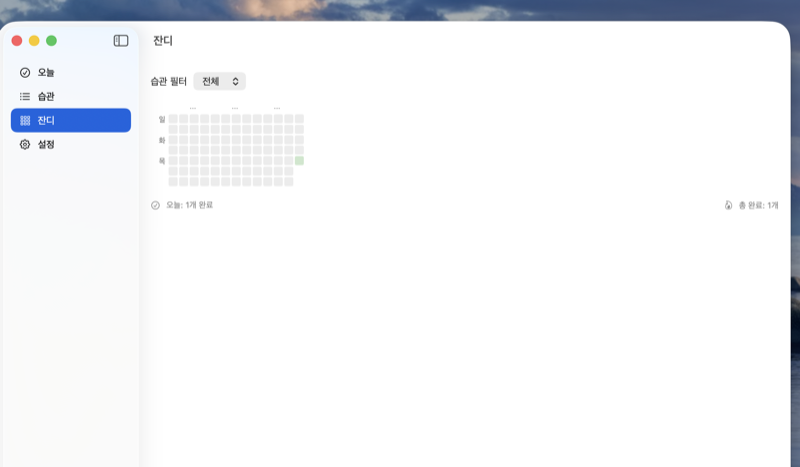
}Small 위젯(오늘 진행률)과 Medium 위젯(잔디 미니맵) 두 가지를 만들었다.
5. Google Sign-In — 크로스 디바이스 동기화
Firebase Anonymous Auth는 기기마다 다른 uid를 생성한다. iPhone과 Mac에서 같은 데이터를 보려면 실제 계정 로그인이 필요하다.
Sign in with Apple은 유료 개발자 계정($99/년)이 필요하지만, Google Sign-In은 무료 계정에서도 동작한다.
핵심은 익명 계정에서 Google 계정으로 link하는 것:
if let user = Auth.auth().currentUser, user.isAnonymous {
    // 기존 uid 유지 → Firestore 데이터 보존
    let result = try await user.link(with: credential)
} else {
    let result = try await Auth.auth().signIn(with: credential)
}link를 사용하면 uid가 유지되므로 users/{uid}/habits/... 경로의 데이터가 그대로 보존된다. 마이그레이션 불필요.
6. 체크 완료 시 알림 자동 취소
9시에 미리 10시 습관을 체크했는데 9:50분에 “할 시간입니다” 알림이 오면 짜증난다. 체크 시 해당 습관의 알림을 취소하도록 했다:
func toggleCheck(_ item: TodayHabitItem) async {
if item.isCompleted {
// 체크 해제 → 알림 다시 스케줄링
try await rescheduleNotifications(for: item.habit)
} else {
// 체크 완료 → 알림 취소
try await notificationService.cancelNotifications(for: habitId)
try await notificationService.cancelOverdueNotifications(for: habitId)
}
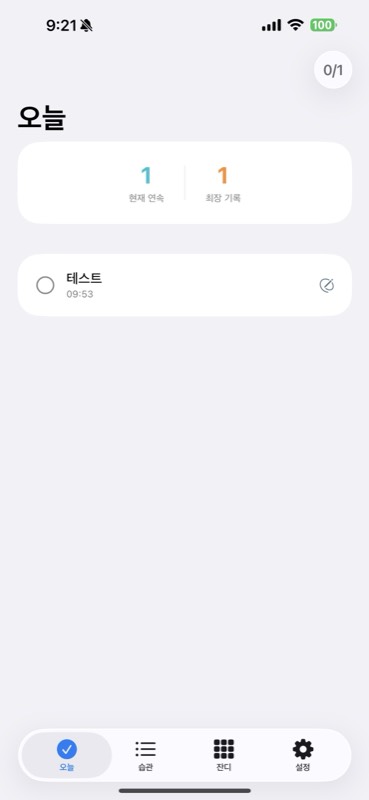
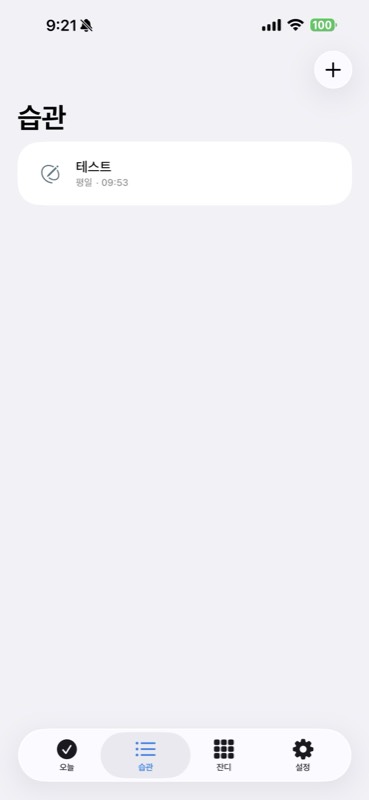
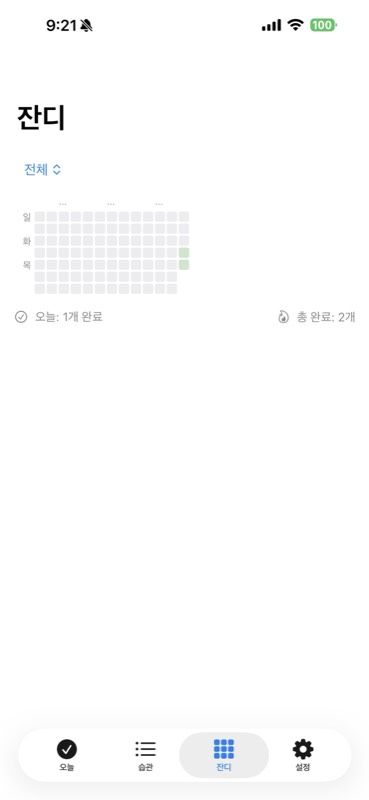
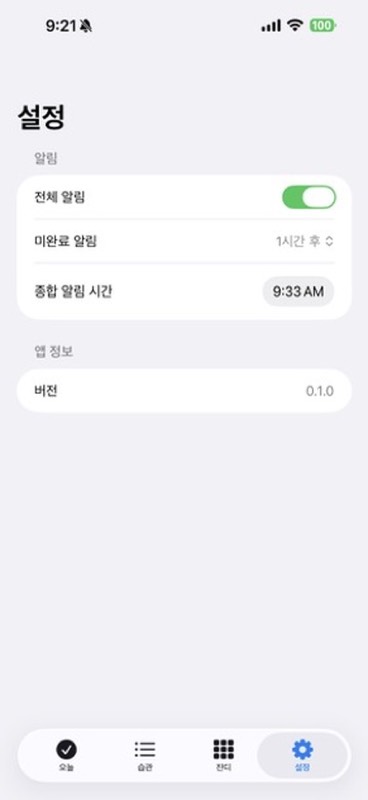
}iPhone 스크린샷
결과
| 항목 | 수치 |
|---|---|
| macOS 이식에 필요한 소스 변경 | 2줄 |
| 위젯 | Small (진행률) + Medium (잔디) |
| 전체 테스트 | 113개 통과 |
| iOS 빌드 | 성공 |
| macOS 빌드 | 성공 |
SwiftUI로 앱을 만들면 멀티플랫폼은 생각보다 쉽다. 진짜 시간이 걸리는 건 macOS다운 UX를 만드는 것 — 사이드바, 폼 스타일, 윈도우 크기 제약 같은 디테일이다. 하지만 그것도 #if os(macOS) 몇 줄이면 해결된다.